Creating my fall planters is one of my favorite things to do. I grew up doing this but if you don't have a green thumb of your own don't fret, I'm going to share some quick tips on how you can create beautiful planters on your own.
Come up with a plan before buying your plants
-color scheme
-what pots to use
-layout
-how many plants needed and sizes
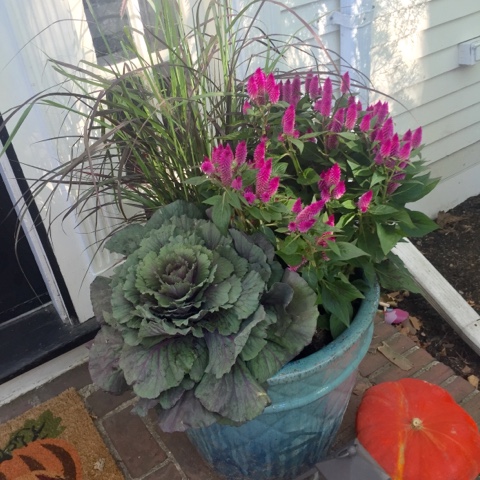
Use 3 different heights in your planters. Tall grasses work great for the taller height while the cabbage fills in the base. I'm a huge fan of the cabbage! You can get ones that have more green/white and ones that have more purple. Creeping Jenny is also a favorite of mine to use in planters not because of its name but the vibrant bright green pops with the dark purples of the grasses or cabbage. Then finish it off with a pop of color. I love filling in the gaps in my planters with mini sugar pumpkins and moss.
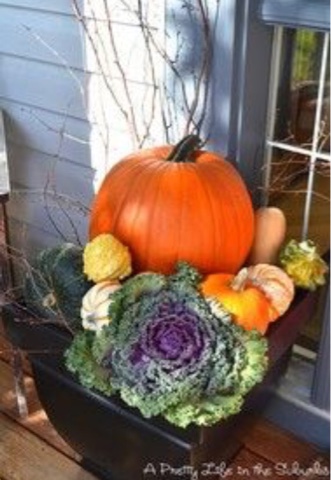
Add some pumpkins in different shades (I like white and green ones) to finish the look.
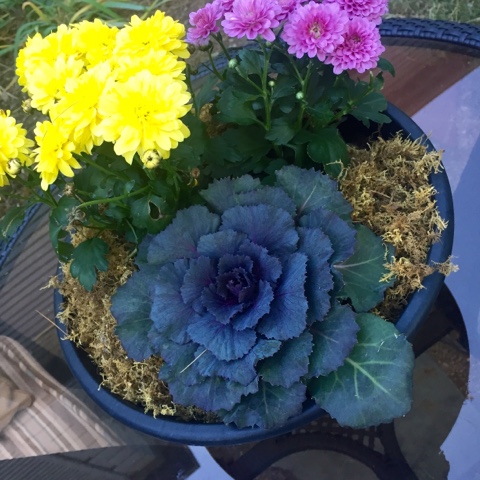
Here are some of my planters I created for the fall and a couple of my favorite inspiration planters.
I added some moss in this planter because the foliage didn't fill the entire top.
For this taller urn I added the Creeping Jenny for the overflow
Here are some of my favorites from Pinterest
Another idea is to layer your pots. Plant the same flower in each pot but 3 different size planters. Example: a purple mum in one pot, a cabbage in another pot and a tall grass in a 3rd and stagger them in a grouping on your porch. As seen on Centsational Girl
These have long been a favorite with the white cabbage
Great mixture of colors


Post a Comment